A step-by-step walkthrough for importing documents into a SortSpoke project and sorting them into the correct categories so they are ready for data extraction.
Last updated: February 27, 2026
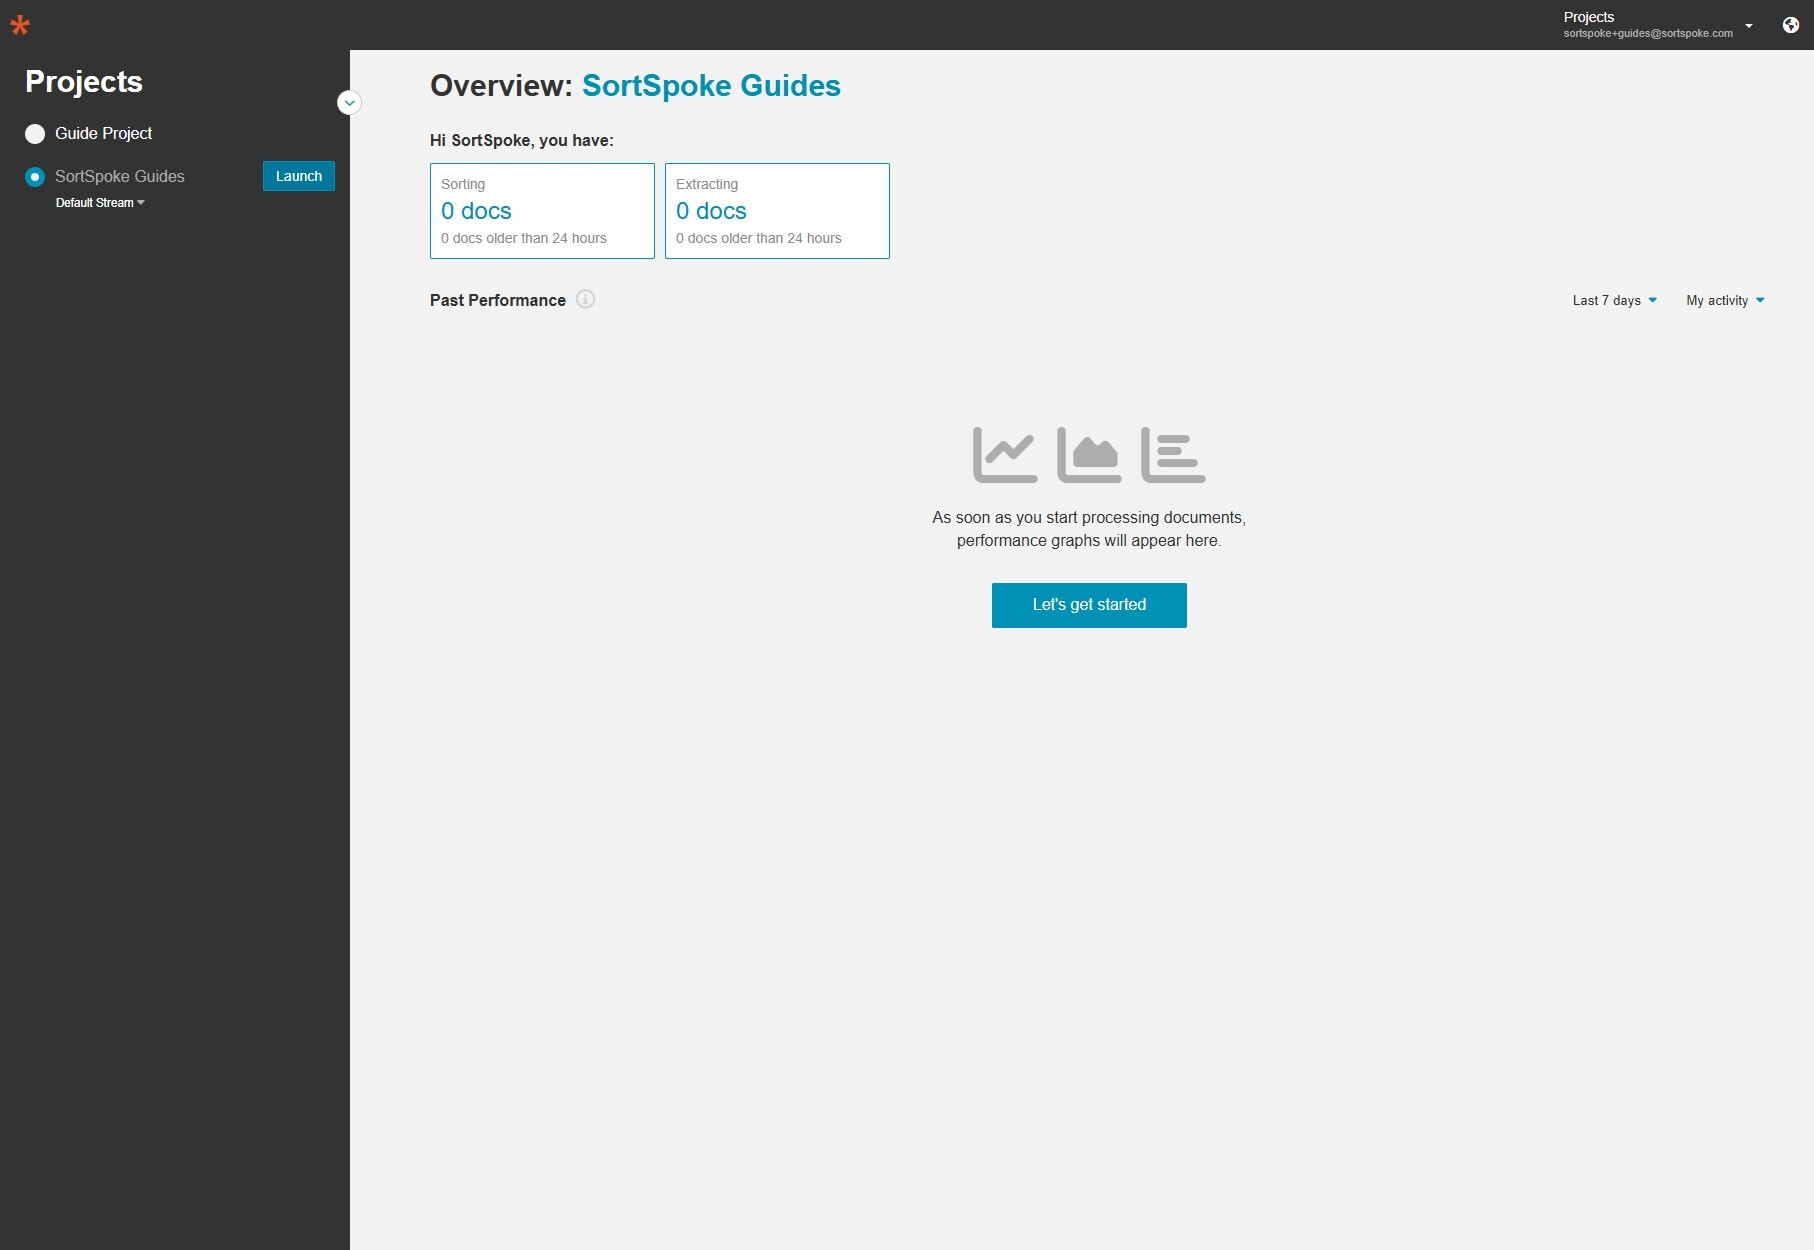
Open your browser and go to https://api.sortspoke.com/app/#/projects/. You will see your Projects list in the left sidebar. The overview panel shows how many documents are currently waiting to be sorted and extracted.
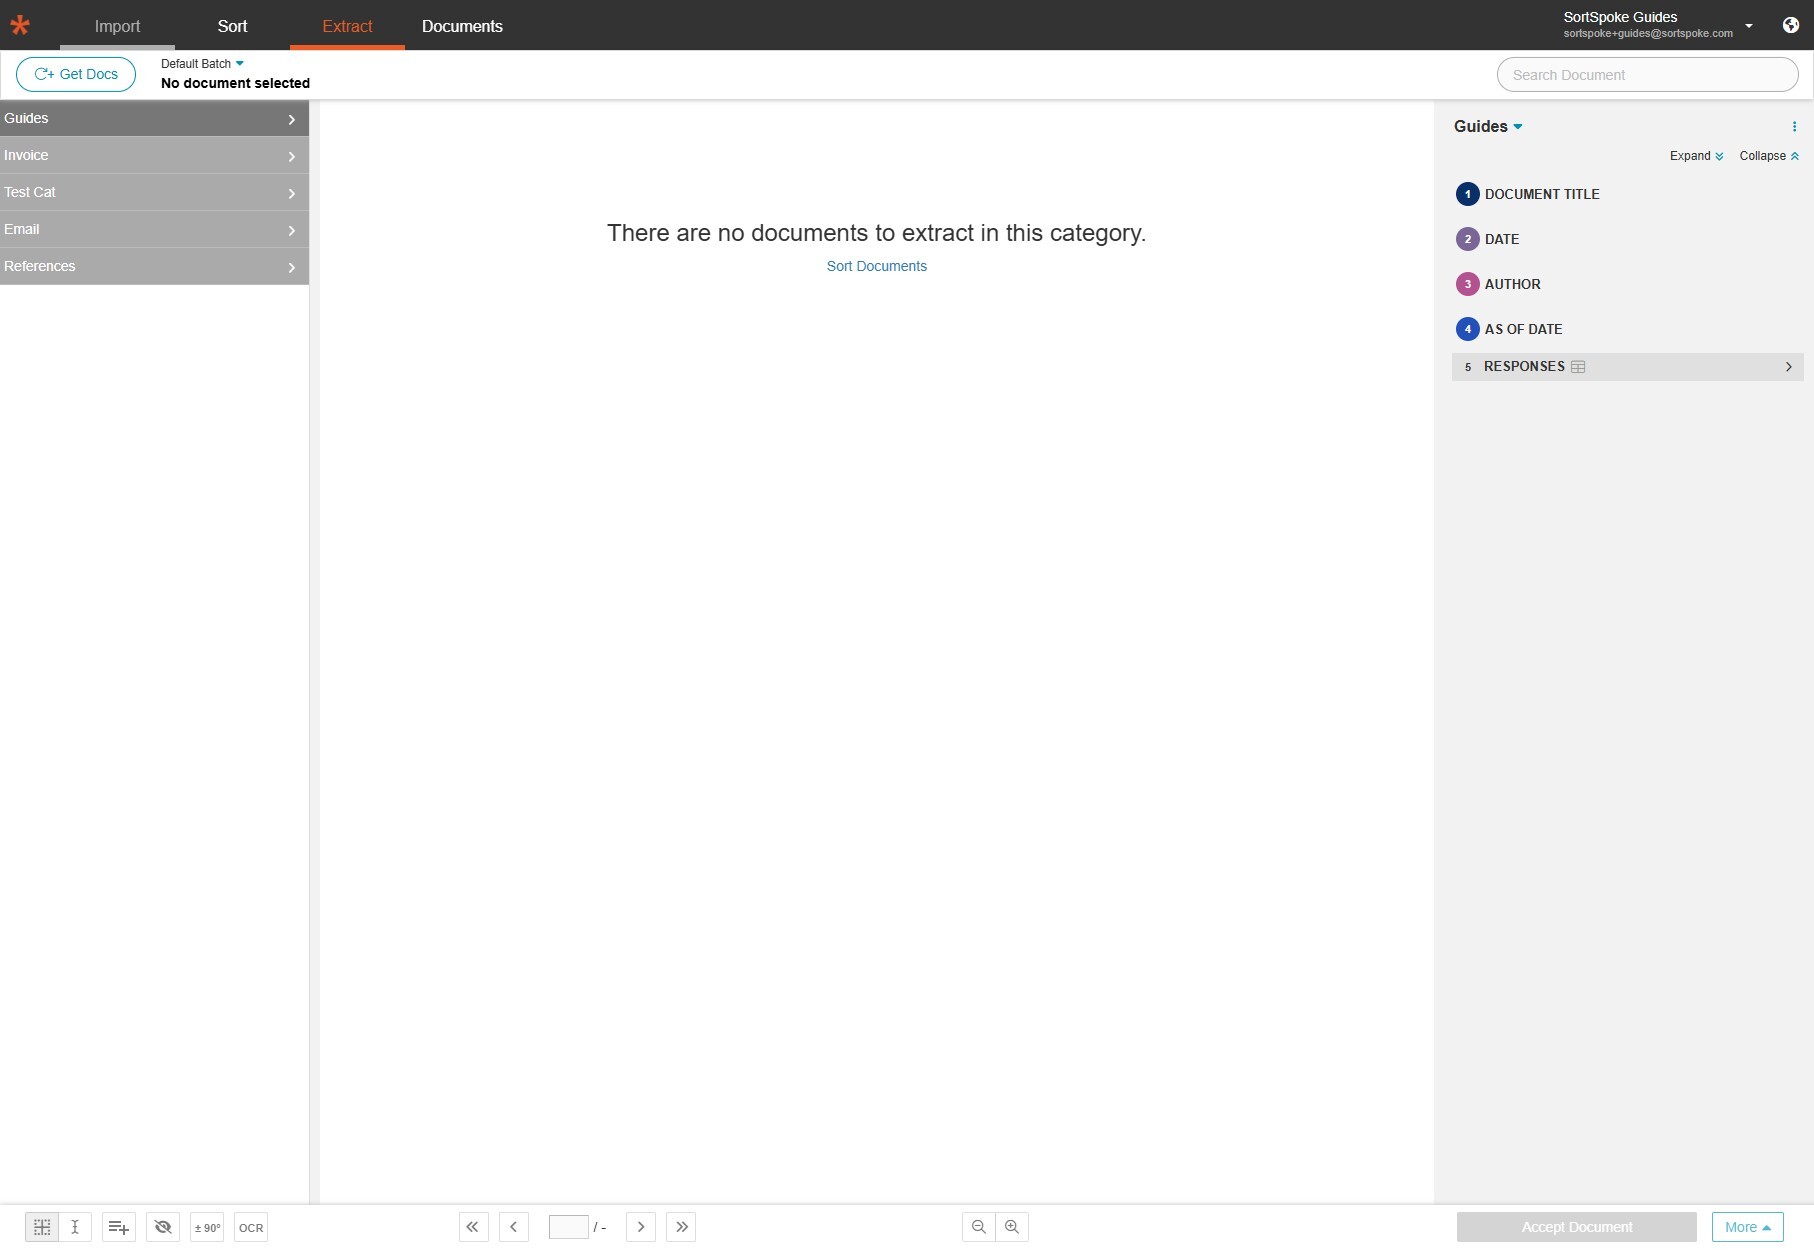
Click Launch next to the project you want to work in. This opens the project workspace and takes you to the Extract tab. From here you can navigate between Import, Sort, Extract, and Documents using the top menu.
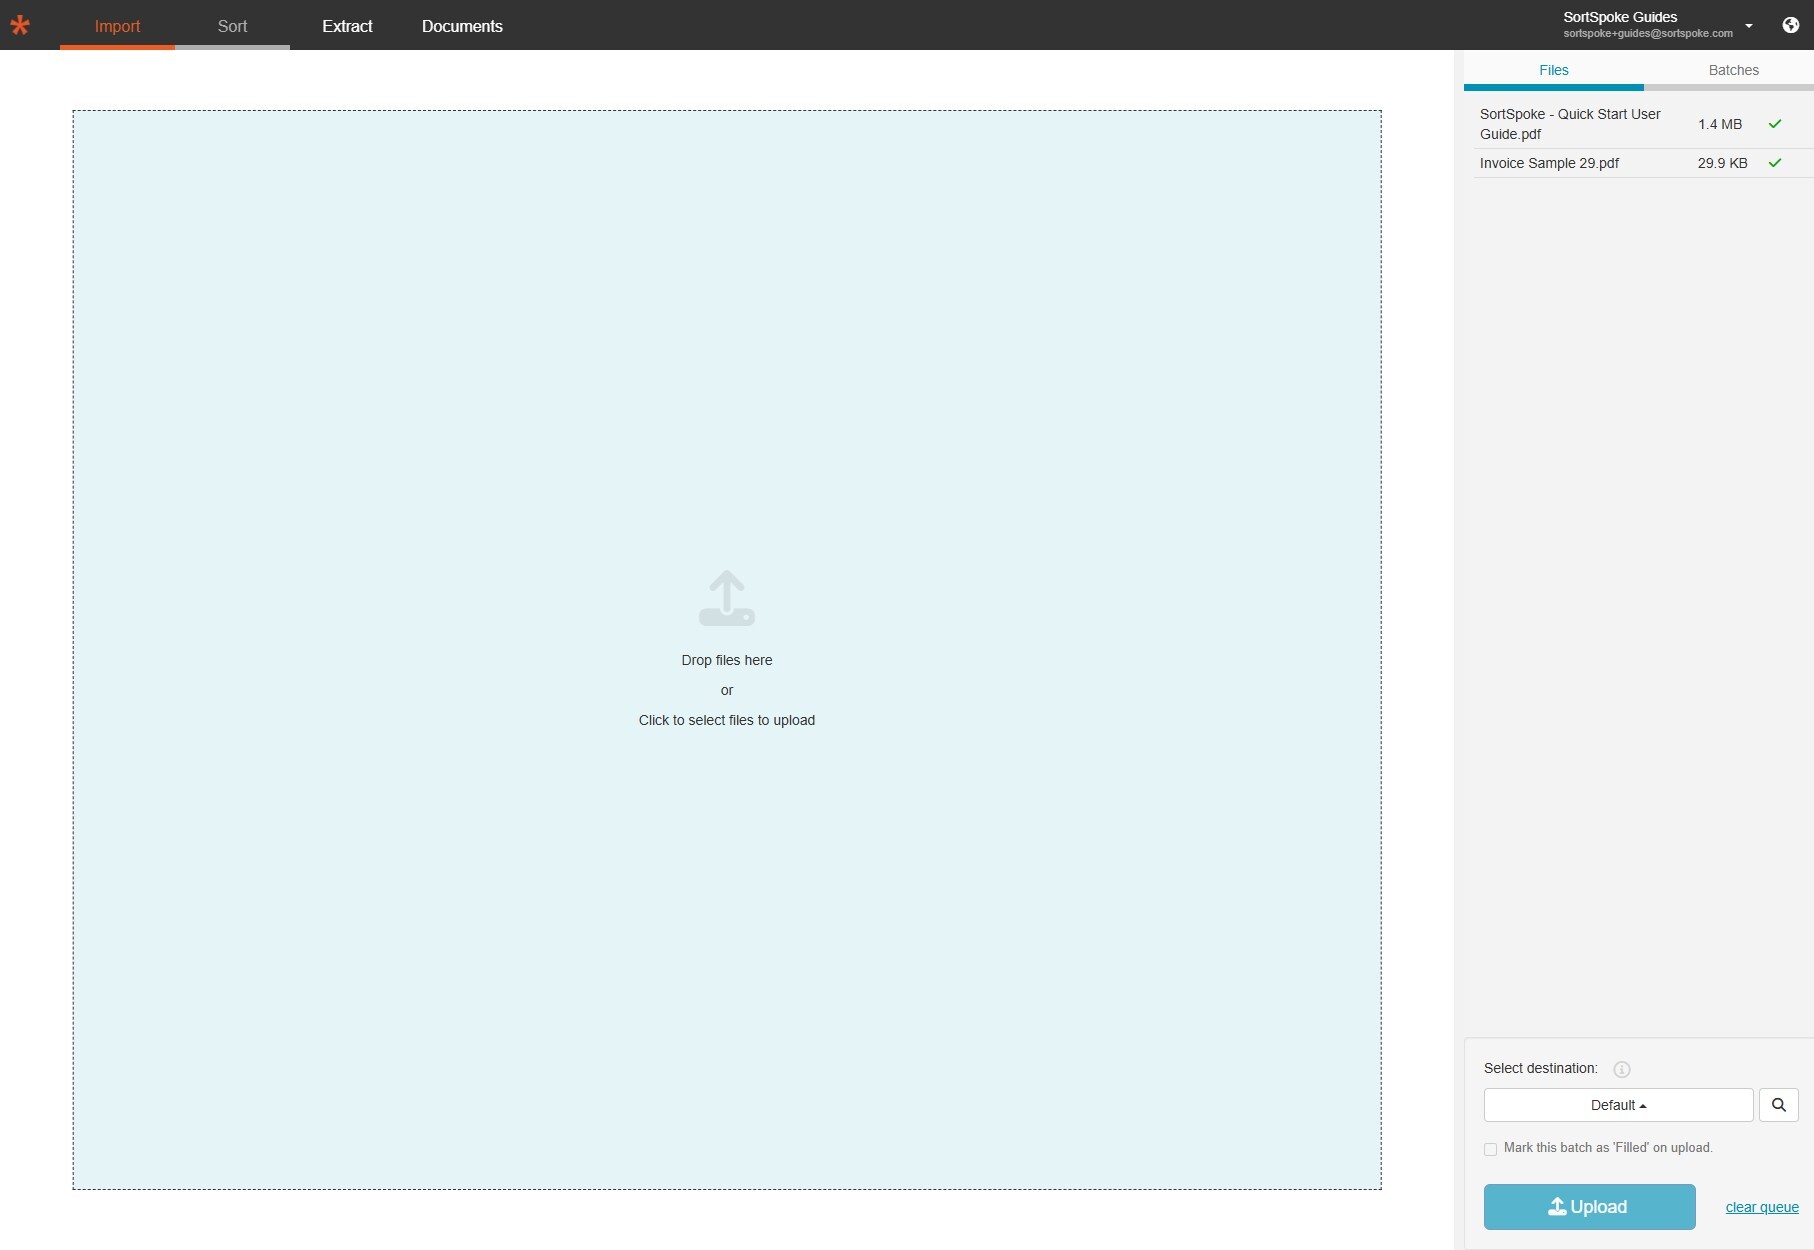
Click Import in the top navigation bar. This opens the file upload area where you can add new documents to your project.
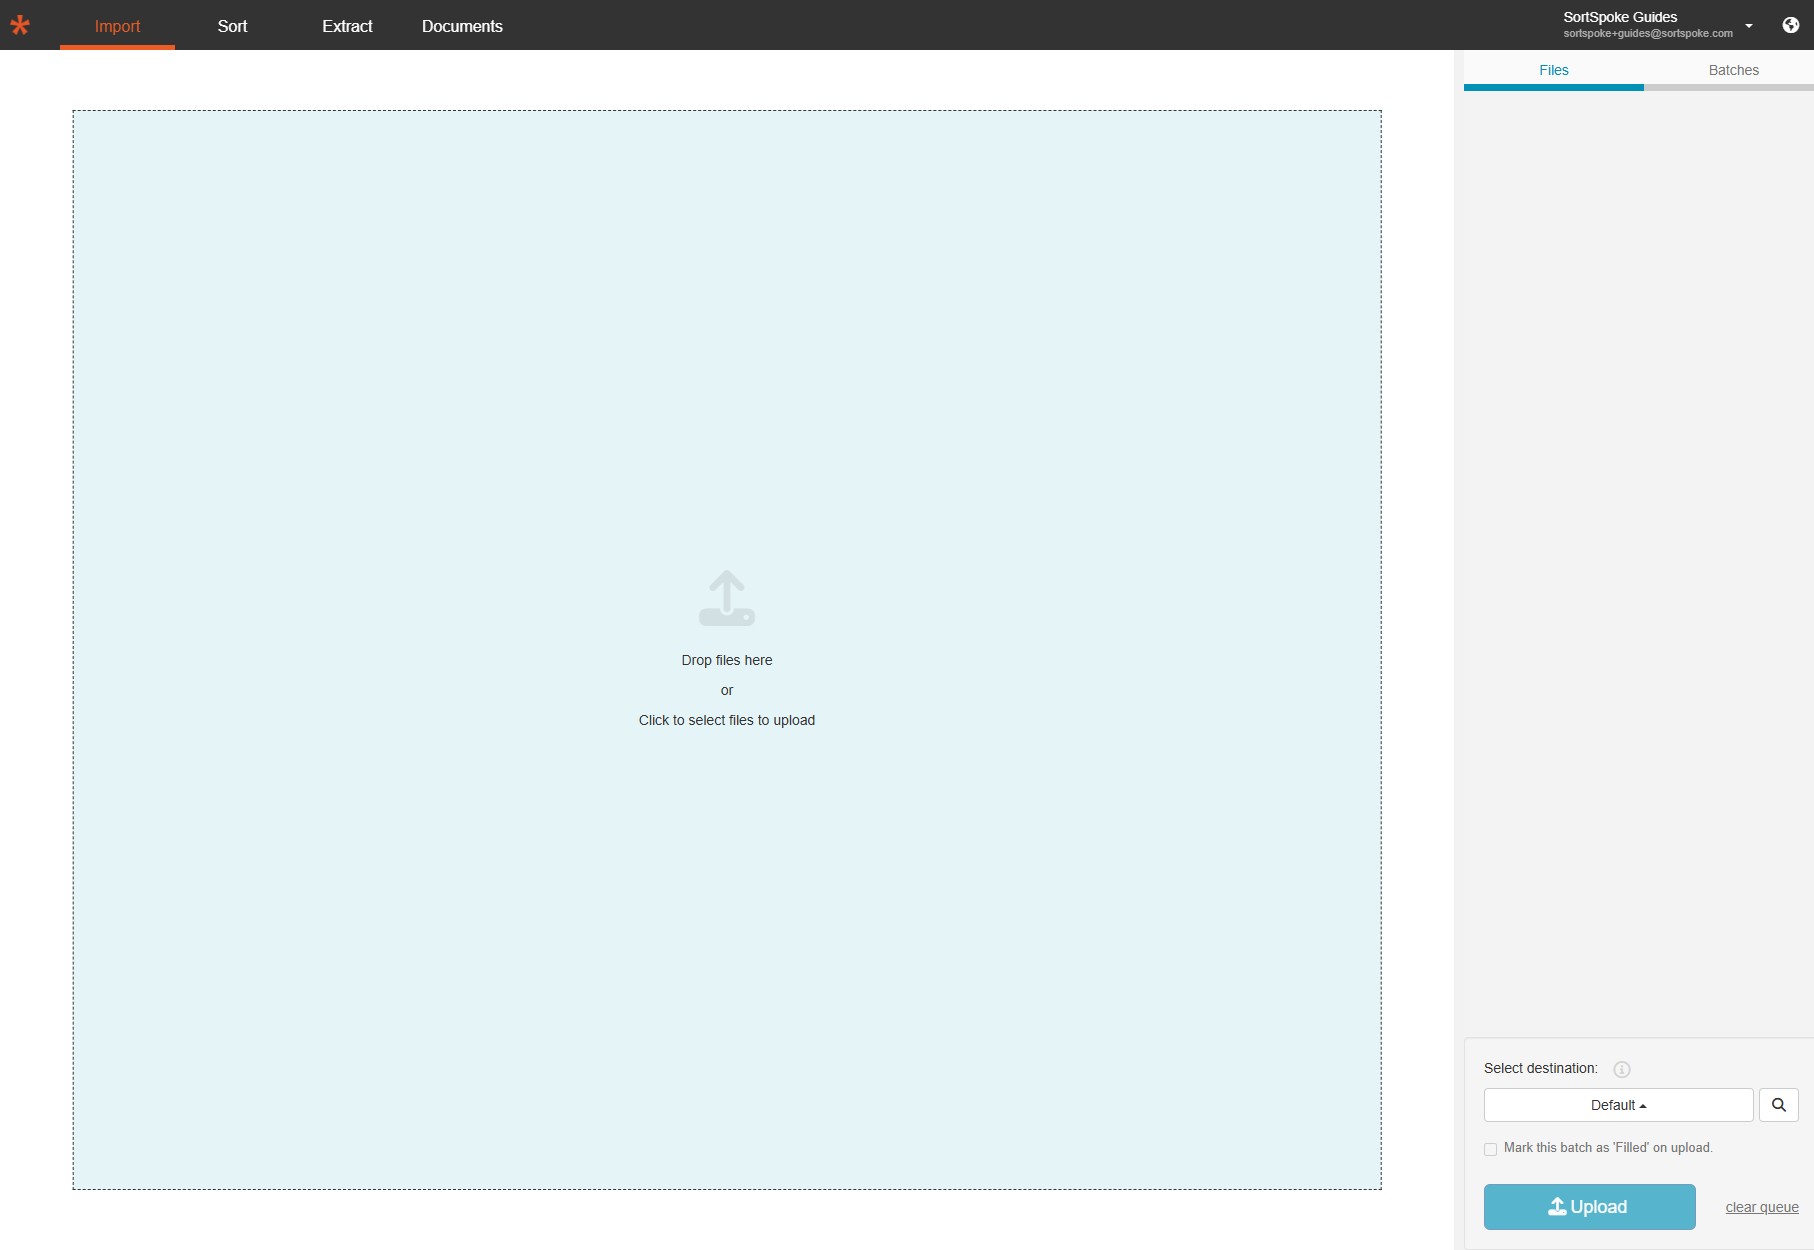
Drag and drop files onto the upload area, or click Click to select files to upload to browse your computer. Your selected files appear in the Files panel on the right, showing the filename and size of each document queued for upload.
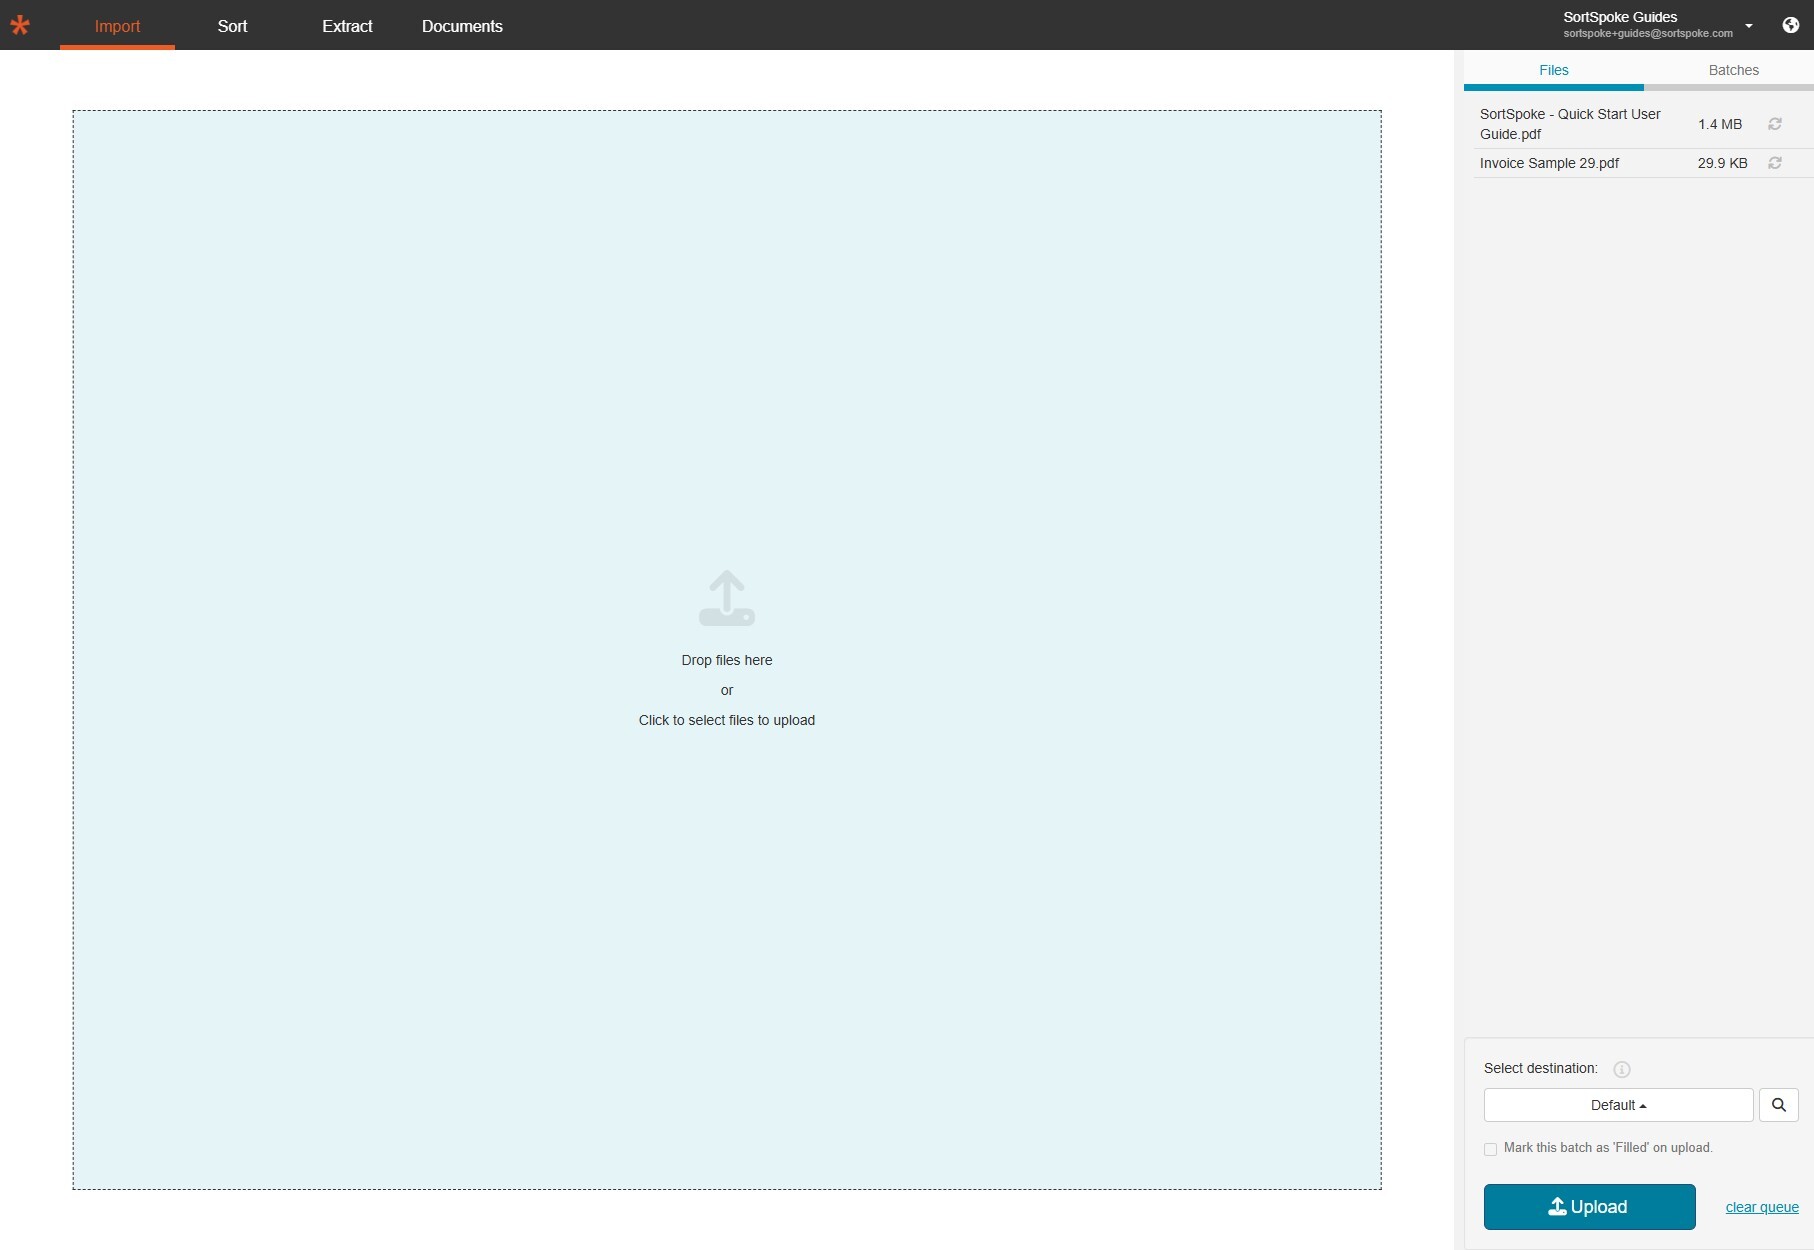
Click the Upload button in the bottom-right corner. A green checkmark appears next to each file once it has been successfully uploaded to SortSpoke.
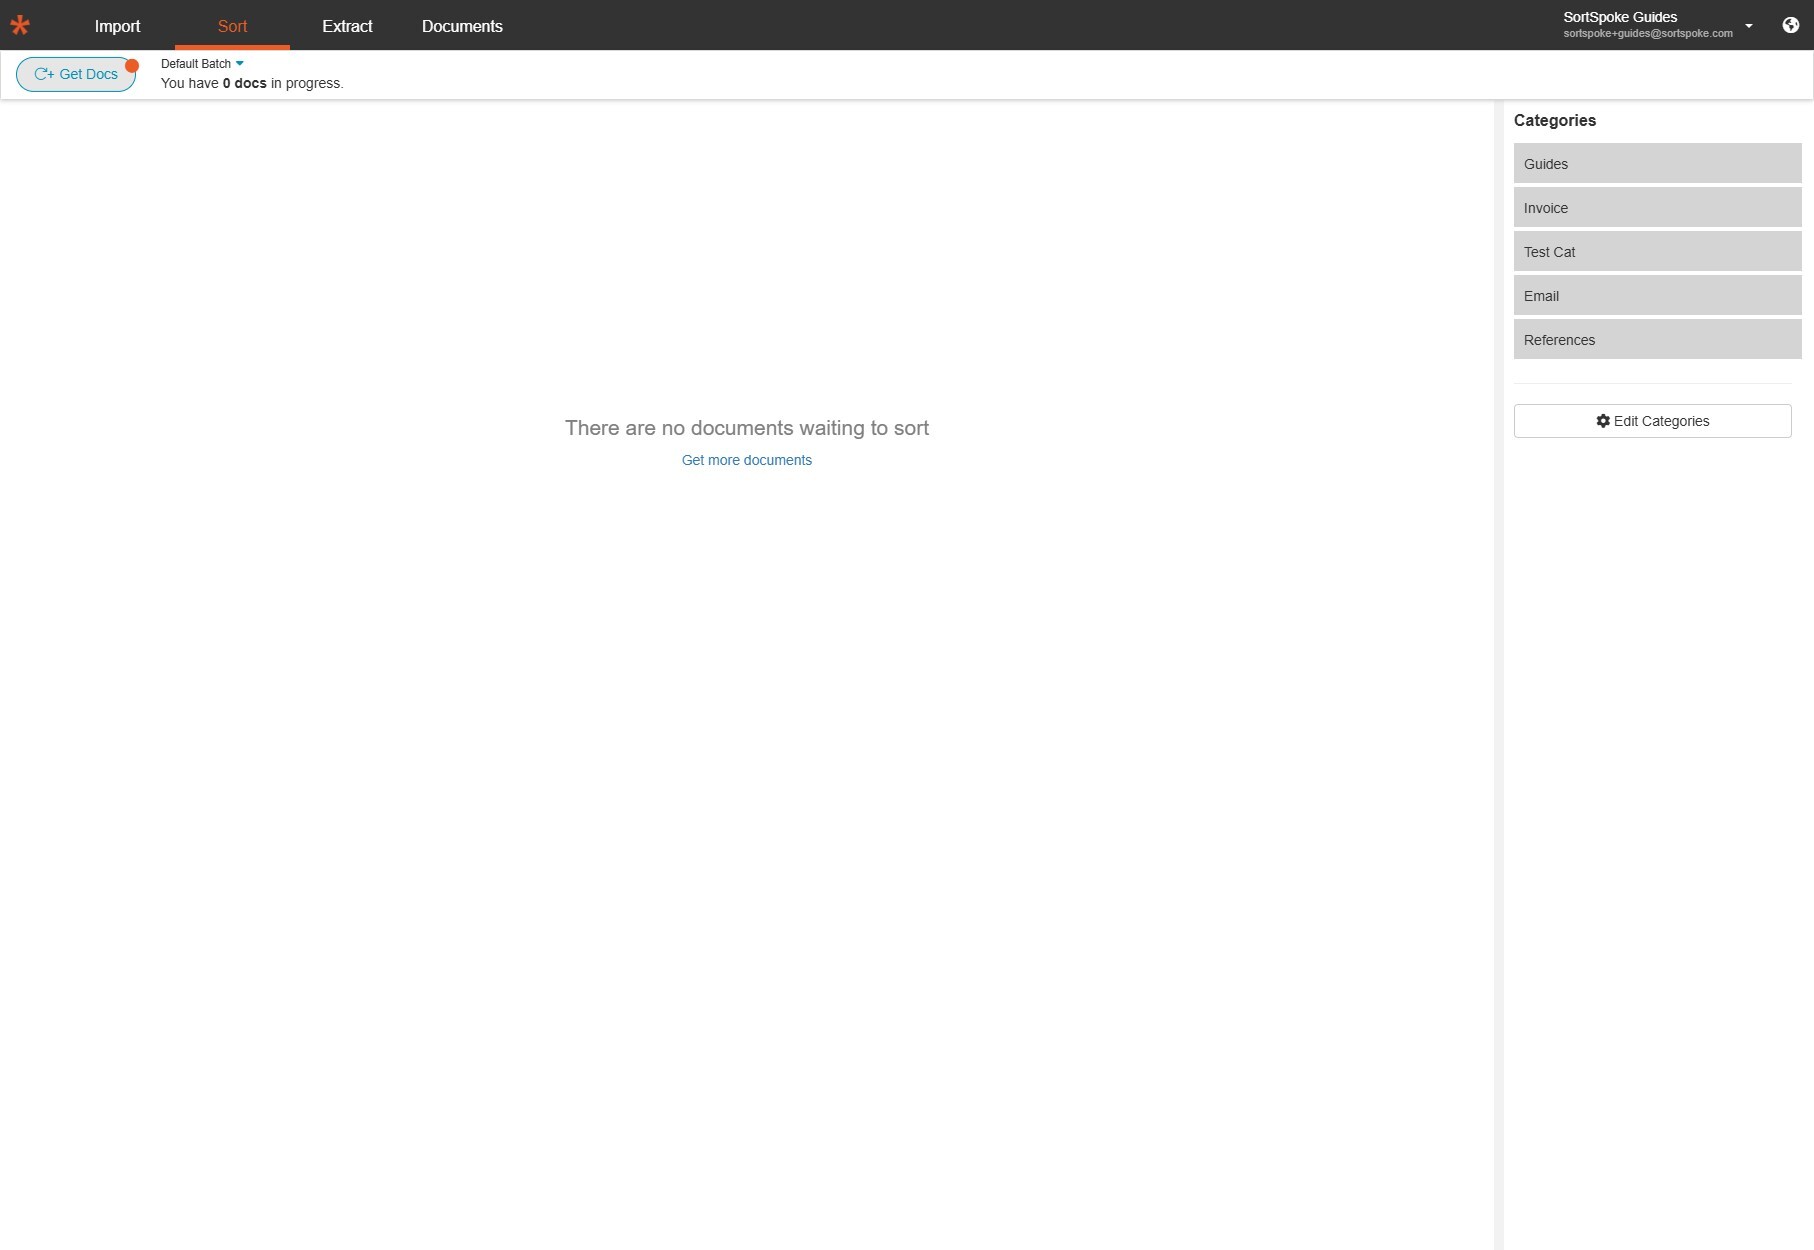
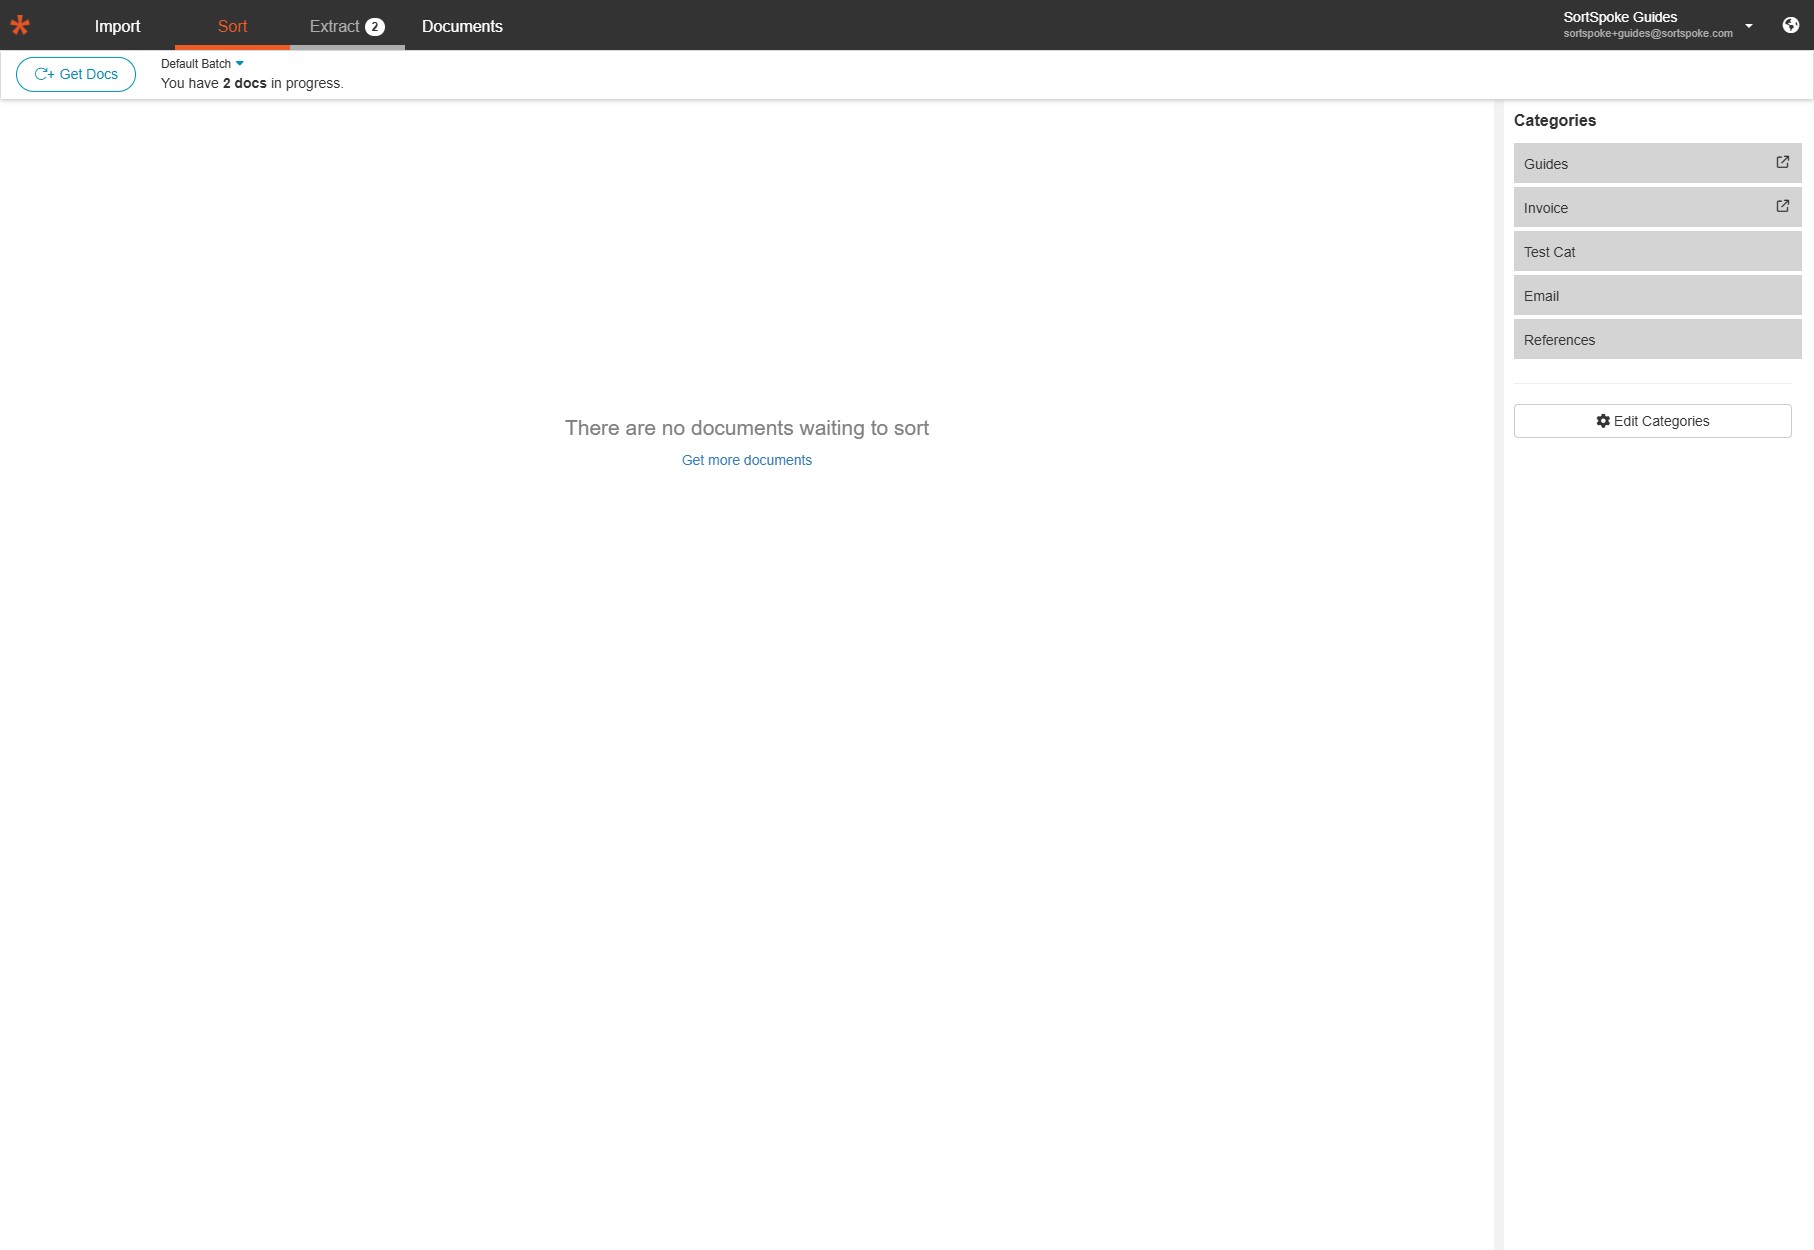
Click Sort in the top navigation bar. If your newly uploaded documents are not yet visible, click the C+ Get Docs button in the top-left corner to pull them into the sort queue. You will see the available categories listed on the right — these are the document types configured for your project.
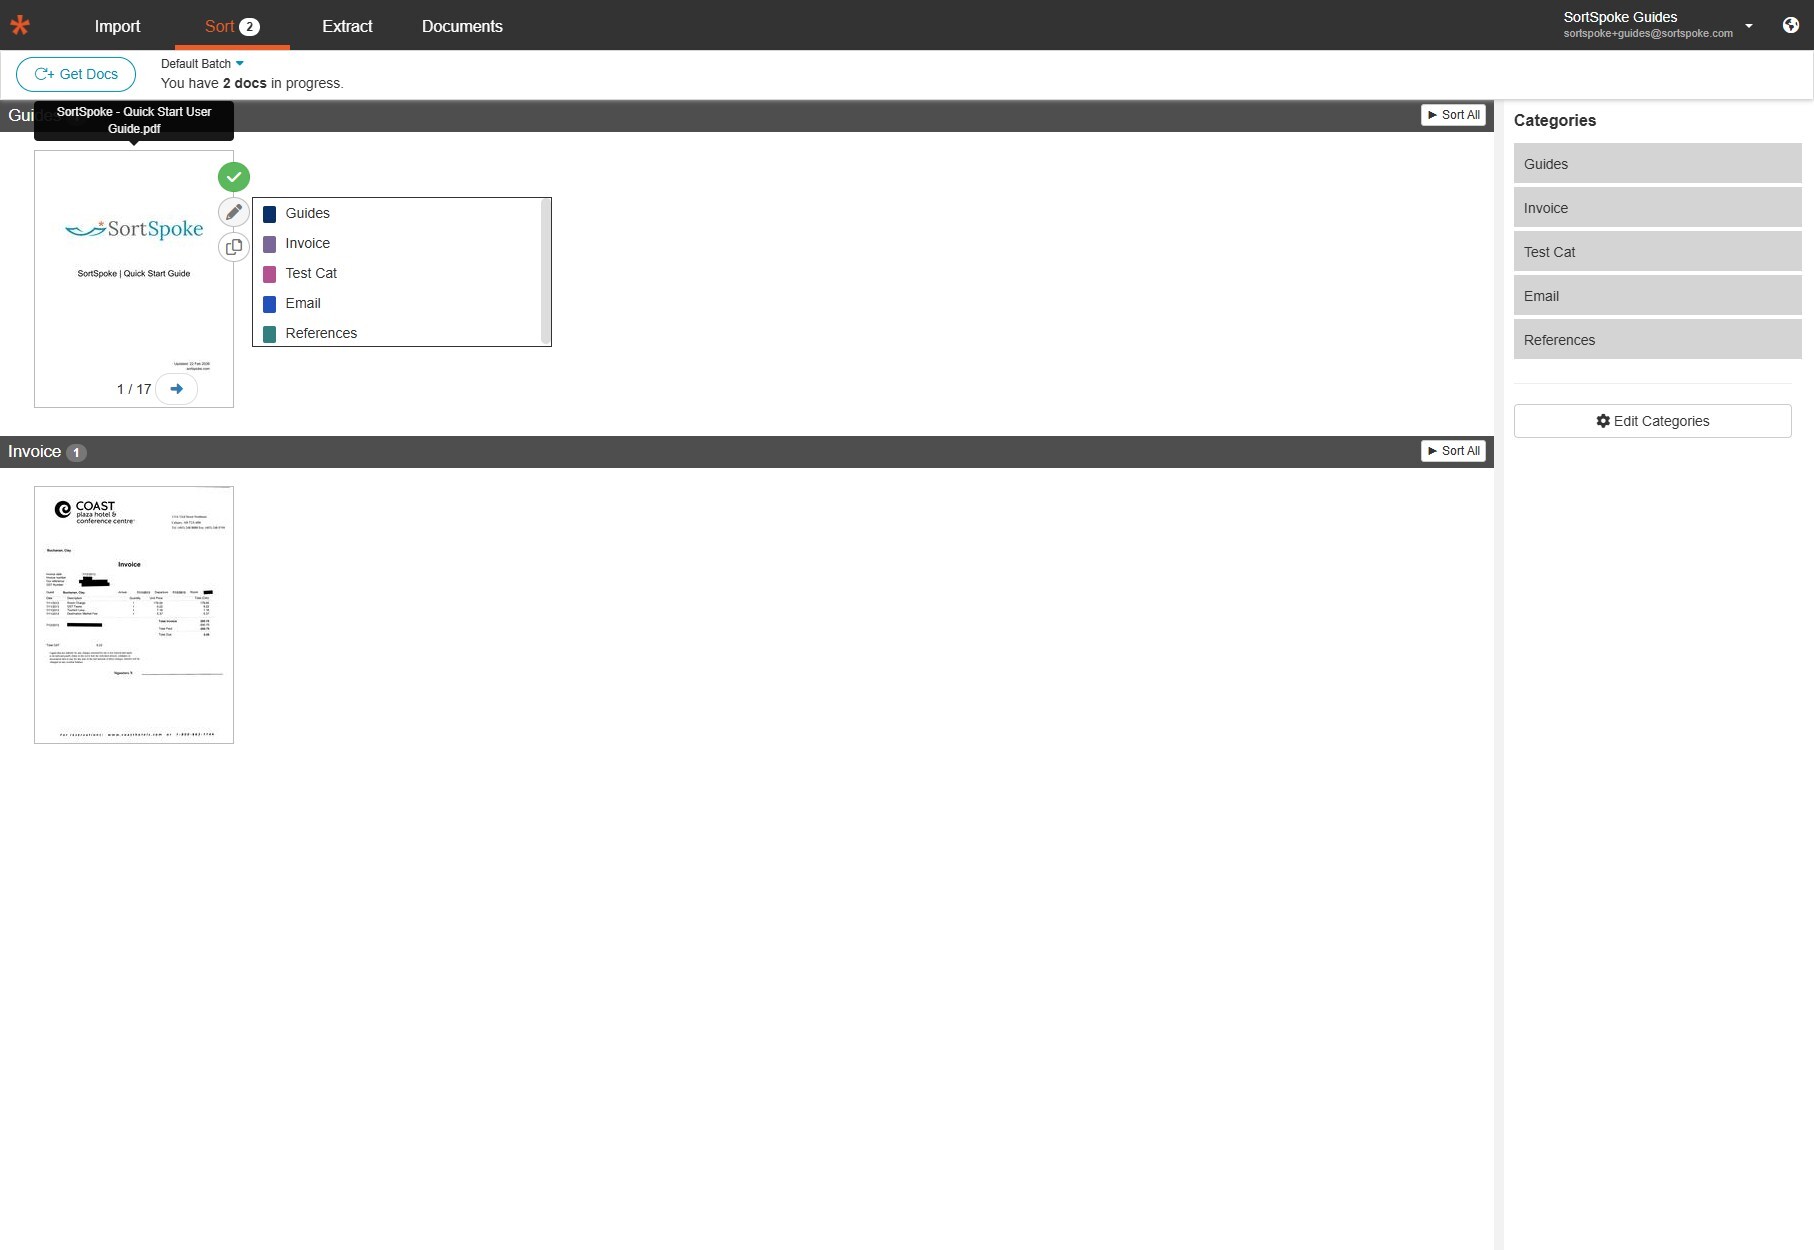
Hover over a document thumbnail and click on it to open the category picker. A dropdown appears listing all available categories (for example: Guides, Invoice, Test Cat, Email, References). Click the correct category to assign the document. In this example, the Quick Start Guide is being sorted into Guides.
You can also use the Sort All button at the top of each section if SortSpoke has already suggested the correct categories.
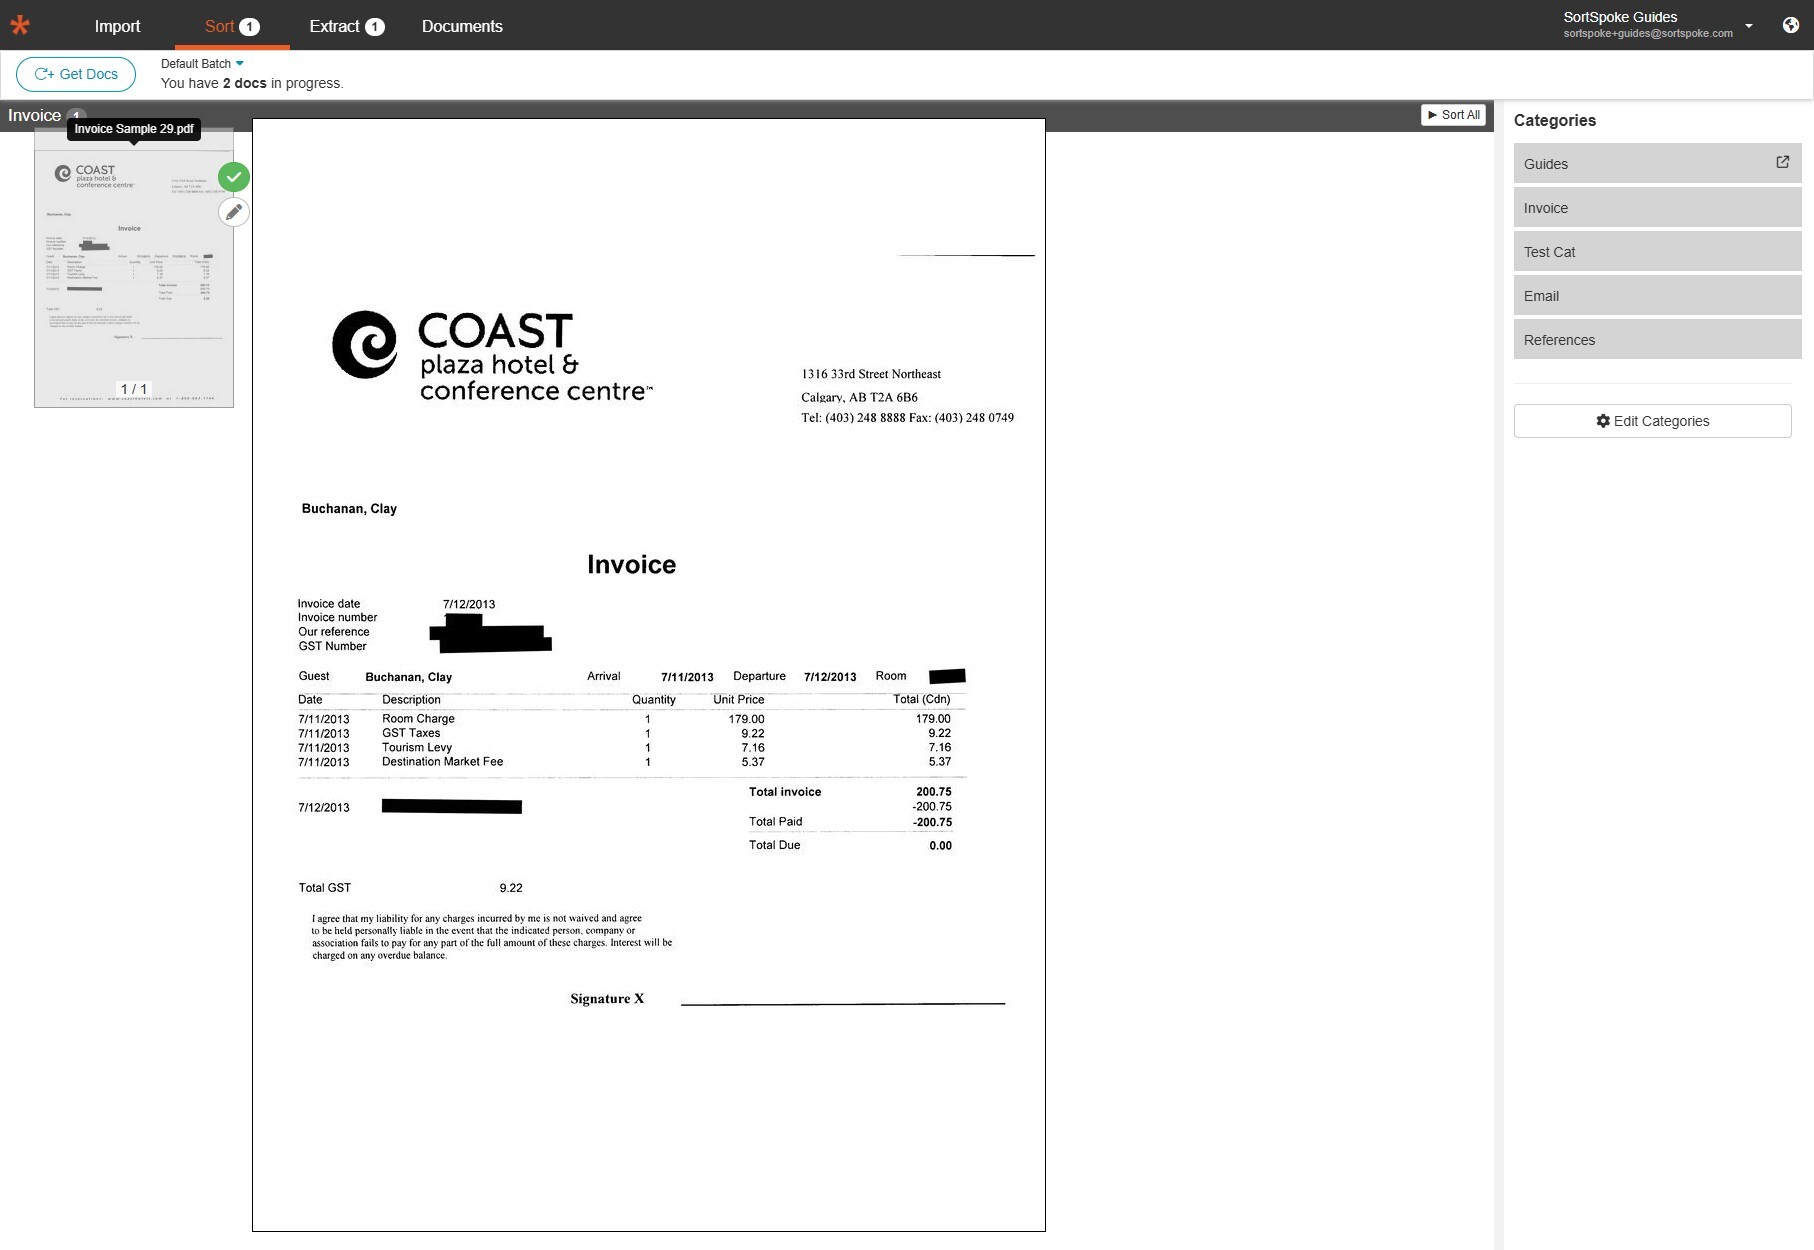
Continue sorting each document. Click the next document thumbnail to select it and choose the appropriate category. Here, the invoice from Coast Plaza Hotel is being previewed. Since the Guide has already been sorted, the Guides category now shows a link icon indicating it contains a document.
Once every document has been assigned to a category, the Sort tab displays "There are no documents waiting to sort." The Guides and Invoice categories both show link icons, confirming they each contain sorted documents. The Extract tab badge in the top menu updates to reflect the number of documents ready for extraction.
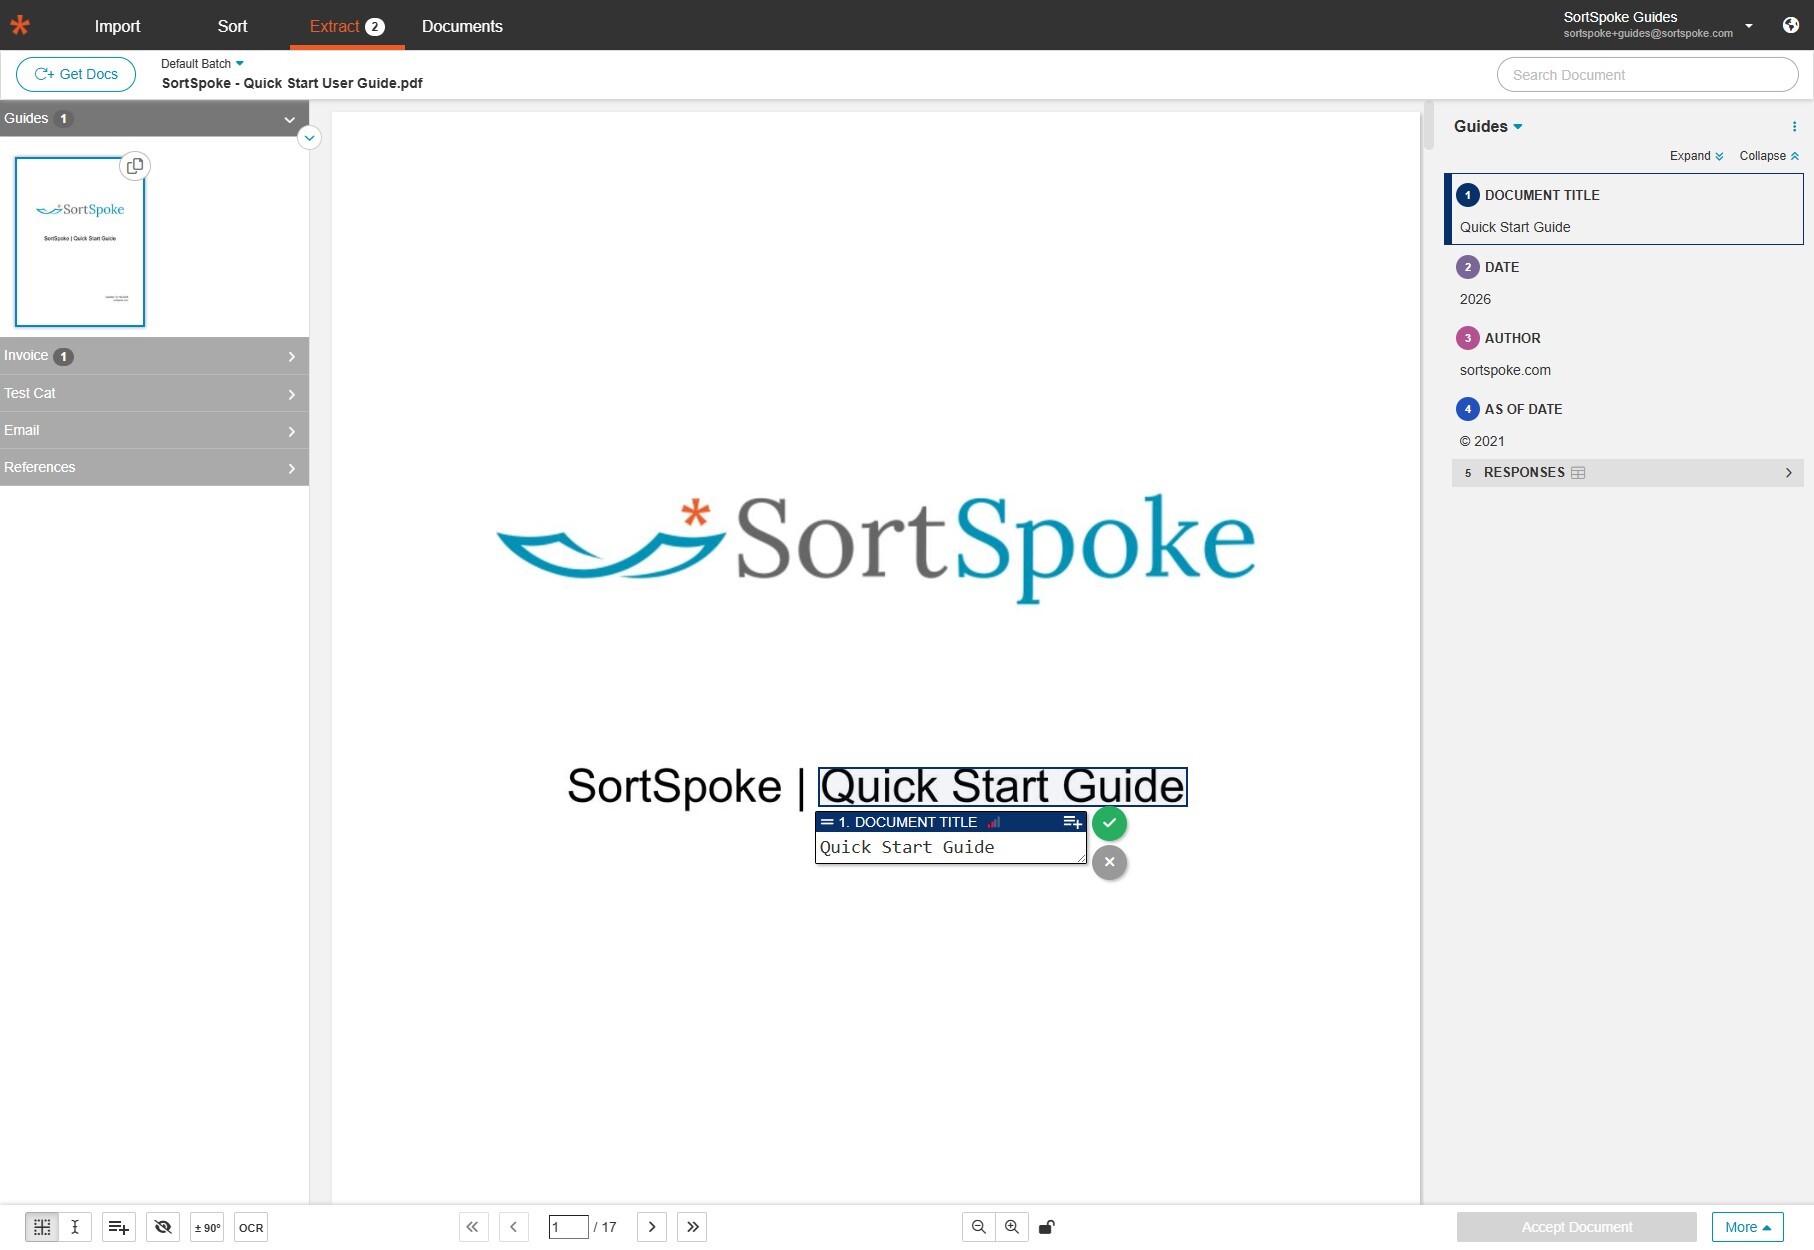
Click Extract in the top navigation bar. Your sorted documents now appear organized by category in the left sidebar. Click a category to expand it and see the documents inside. Here the Guides category is expanded, showing the Quick Start Guide. SortSpoke has already begun extracting fields — you can see Document Title, Date, Author, and As Of Date populated on the right panel.
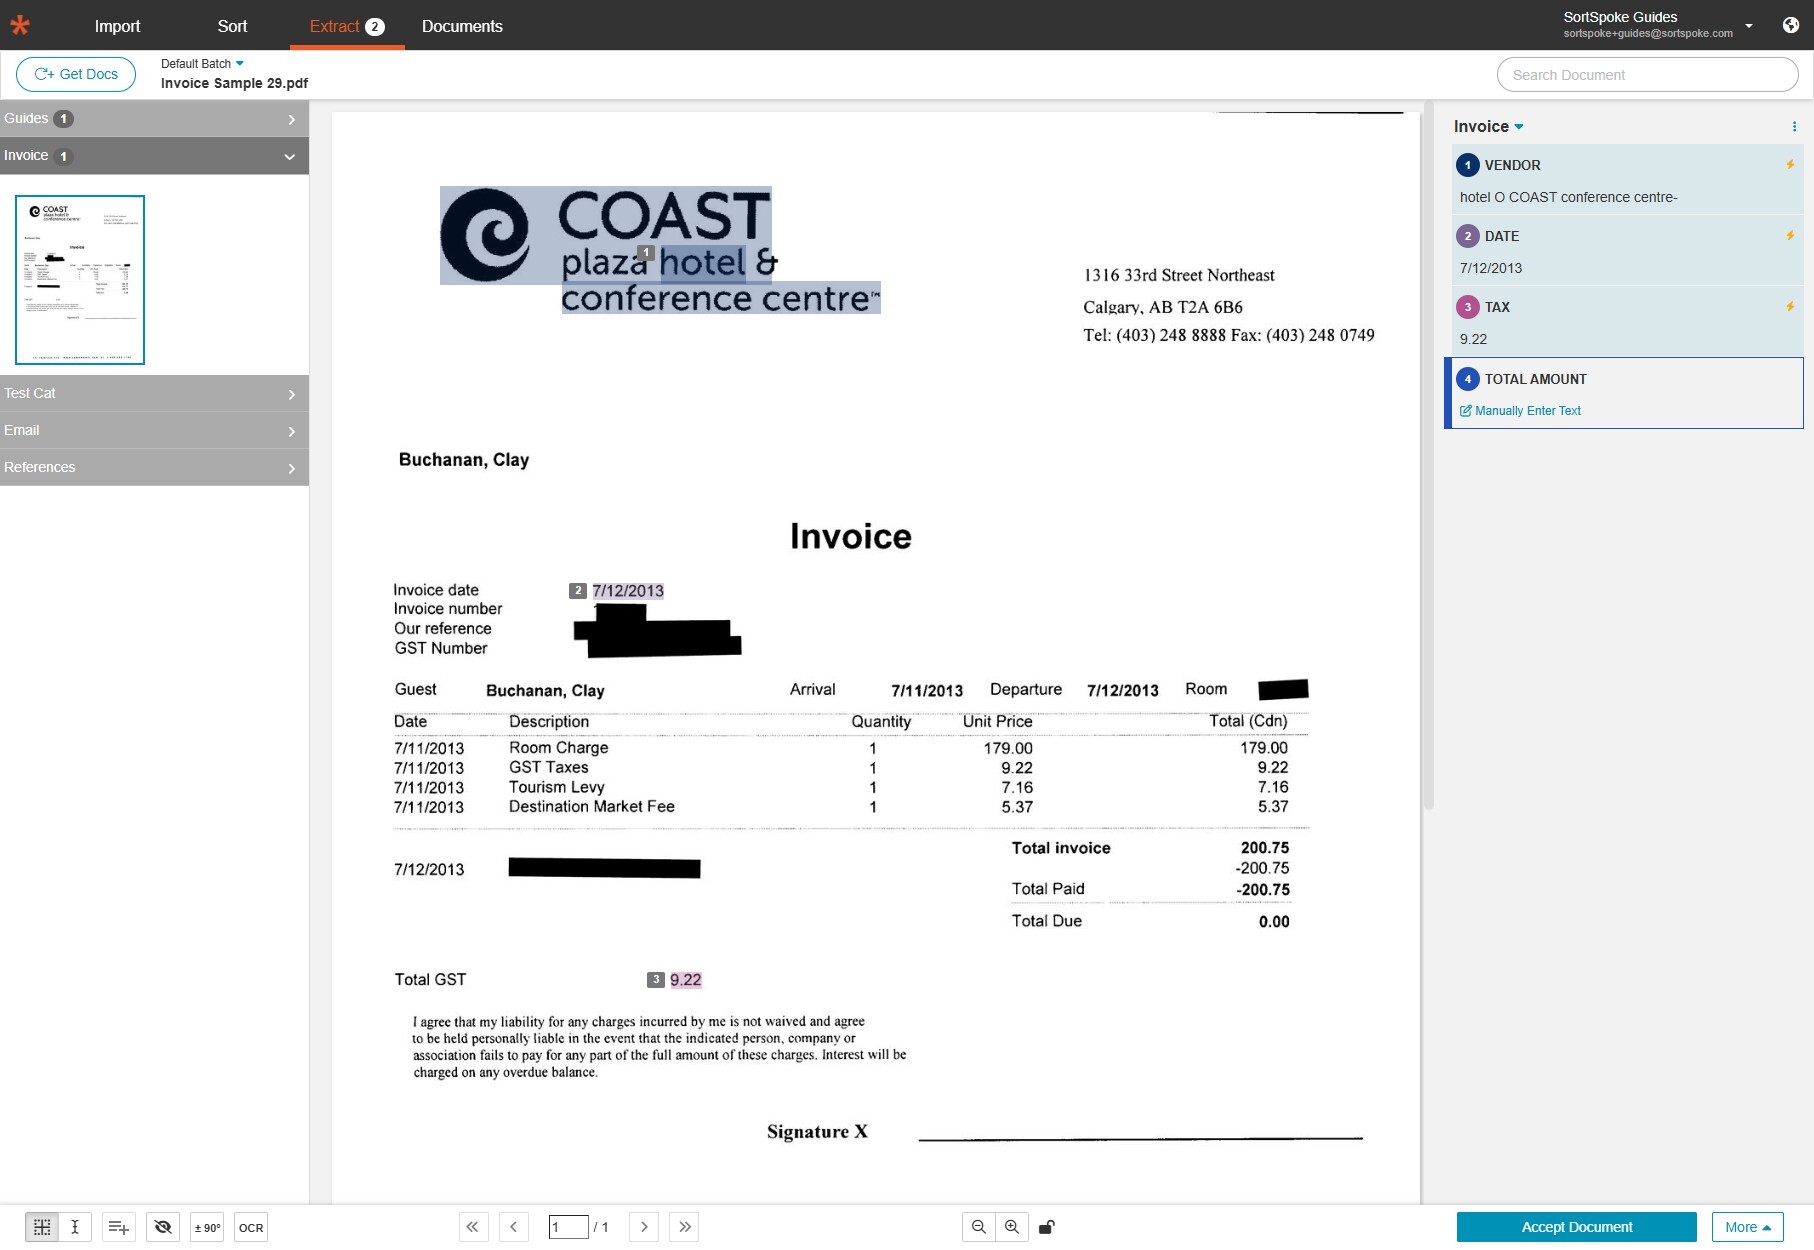
Click a different category in the left sidebar to view its documents. Here the Invoice category is expanded and the Coast Plaza Hotel invoice is displayed. SortSpoke has extracted the Vendor, Date, and Tax fields automatically. If any field needs correction or was not captured, click Manually Enter Text to add it yourself.
Your documents are now imported, sorted, and ready for extraction. For a detailed walkthrough of the extraction process, see How to Extract Documents.
Need more help? Visit our support center or contact us at support@sortspoke.com.
We're here to help you extract any data from any kind of PDF document.
Looking for the latest SortSpoke Quick Start User Guide? Click here for details.

